
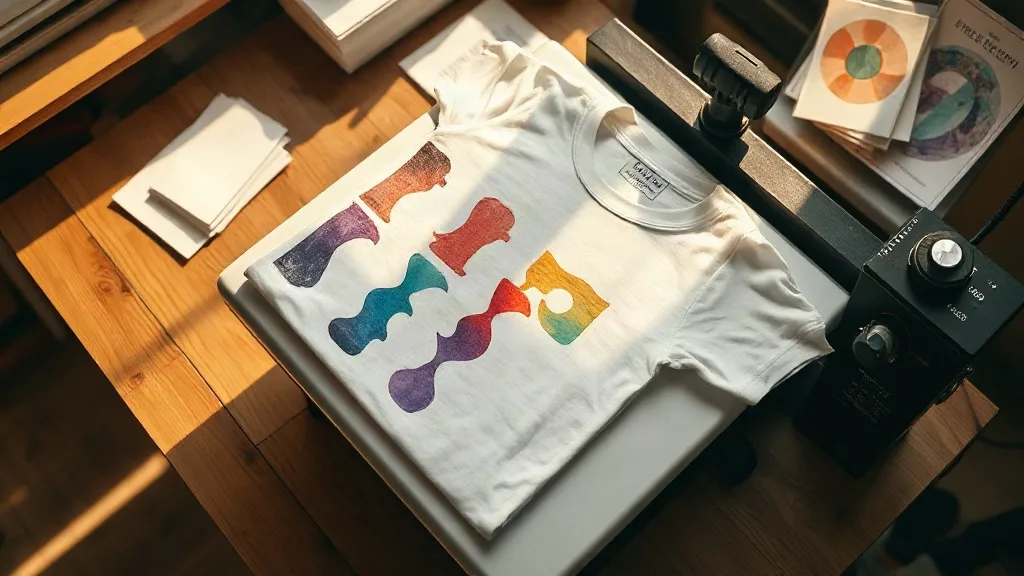
Most people who try dtf transfers for the first time come away with one of two reactions: they either love the flexibility or they get a washed-out, cracked print and assume the method is the problem. In my experience running small batches of shirts for local events, the method is rarely the culprit. The gap between a print that survives fifty washes and one that peels after three usually comes down to a handful of details that nobody explains before you place an order.
This guide walks through what DTF actually is, where it beats other decoration methods, what to inspect before you commit to a supplier, and how to press transfers so they hold up. If you have been circling the idea of adding dtf to your workflow or you just want your own shirts to stop fading, the details below are the ones that matter in practice.
What DTF Actually Is, Minus the Marketing
Direct-to-film is a printing process that puts your artwork onto a special PET film using pigment inks, then applies a hot-melt adhesive powder over the wet ink. The powder fuses to the ink, the film gets cured, and what you end up with is a flexible transfer sheet you can store flat and press onto fabric whenever you need it.
The important part is what this means for your material choices. Because the adhesive does the bonding rather than the fabric absorbing ink, DTF does not care whether your shirt is 100% cotton, a poly blend, or something awkward like canvas or a tote bag. That is the real selling point. Screen printing struggles on dark poly blends, and vinyl cutting gets impractical the moment your design has gradients or fine detail.
Where it fits compared with other methods
- Screen printing: still the cheapest per unit at high volume, but setup costs make small runs painful.
- Vinyl cutting: great for simple one-color text, poor for photographic artwork or soft gradients.
- Sublimation: only works on light-colored polyester, which rules out most cotton garments.
- DTF: handles full color, works on almost any fabric, and makes sense from a single shirt upward.
That last point is why the method has spread so quickly among people doing one-off gifts, team jerseys, and small brand drops. You are not paying for screens or setup, so a run of five costs roughly the same per piece as a run of five hundred.
What Separates a Good Transfer from a Bad One
Two suppliers can hand you a transfer that looks identical on the sheet and behaves completely differently after pressing. The differences live in details you can check if you know where to look.
Ink laydown and powder coverage
A properly made transfer has an even, slightly matte adhesive layer across the entire printed area. Hold it up to a light and look for bare patches, especially near the edges of fine lines. Uneven powder means uneven bonding, and the spots that did not get powder are the spots that will lift first. If you are buying in person, ask to see a sample pressed onto fabric rather than judging the sheet alone.
Film quality and how it releases
Cheap film tends to curl at the corners and can leave a faint halo around the design after peeling. Good film releases cleanly at a consistent temperature and does not drag the adhesive with it. If a peel feels sticky or fights you, the press temperature or the film itself is off.
Color accuracy against your file
Pigment inks on film render slightly differently from what you see on a backlit monitor. Reds tend to shift warm and deep navy can go muddy if the profile is not managed. Order a single test piece before committing to a large run, and compare it under daylight rather than office lighting.
How to Press Transfers So They Last
Pressing is where most failures happen, and it is entirely within your control. The variables are temperature, pressure, time, and peel timing, and each one has a narrow window that works.
- Pre-press the garment. Ten seconds at press temperature removes moisture. Skipping this is the single most common cause of adhesion failure, especially on cotton that has been sitting in a humid room.
- Set temperature around 150 to 160 degrees Celsius. Too cool and the adhesive never fully activates; too hot and you can scorch blends or distort the film.
- Use firm, even pressure. Medium to heavy on most presses. Light pressure leaves the adhesive sitting on top of the weave instead of locking into it.
- Press for 10 to 15 seconds, then peel. Most modern films are cold or warm peel. Follow the supplier's instruction exactly, because peeling hot when you should peel cold will stretch the design.
- Post-press with a cover sheet. A second short press over parchment or a Teflon sheet settles the adhesive into the fibers and noticeably improves wash durability.
Wash inside out, cold water, no fabric softener, and skip the dryer on high heat. Transfers that follow those rules routinely last well past a year of regular wear.
Buying Online vs. Finding a Local Supplier
Online ordering is convenient and the per-sheet pricing is often better, but turnaround time and shipping damage are real considerations. If you need a batch for an event this weekend, searching for dtf transfers near me can put you in front of a local printer who can hand you the sheets the same day and let you inspect them before you pay.
Local has another advantage: you can bring your own garment and ask them to press a test piece on it. That single test tells you more about how the transfer behaves on your specific fabric than any spec sheet will. Online suppliers are still the better call for repeat orders once you have dialed in a film and a press setting that work for you.
Questions worth asking any supplier
- What film and powder do you use, and what peel timing does it require?
- Can you send a single pressed sample on my fabric before a bulk order?
- What is your color profile, and do you accept Pantone references?
- How do you pack sheets to prevent curling in transit?
Common Mistakes That Ruin a Print
Stretching the garment over the press platen unevenly creates wrinkles that press into the design permanently. Pressing directly on a seam or a zipper concentrates pressure and can crush the adhesive layer. Reusing a cover sheet that has picked up adhesive residue transfers that residue onto your next shirt. And storing transfers in a hot car or a damp basement degrades the powder before you ever press it, which is a failure you cannot fix later.
Store sheets flat, in a cool dry place, inside a sealed bag if humidity is high in your area. They keep for months that way, which is exactly why buying in bulk makes sense once you know your settings.
Frequently Asked Questions
Do DTF transfers work on 100% cotton?
Yes, and cotton is one of the easier fabrics to press onto. The adhesive bonds to the fiber surface rather than requiring the fabric to absorb ink, so cotton, poly blends, canvas, and most synthetics all work. Very stretchy or coated fabrics are the exception and need a test press first.
How long do DTF prints last after washing?
With correct pressing and cold-water washing inside out, most prints hold up for a year or more of regular wear. Durability drops sharply if you skip the pre-press, use low pressure, or dry on high heat. Fabric softener also degrades the adhesive over time.
Can I press DTF transfers with a home iron?
It is possible but unreliable. A home iron cannot deliver even pressure across a large area, so you get patchy adhesion that fails at the edges. A small heat press is a far better investment if you plan to do more than a couple of shirts.
Why did my transfer peel at the corners?
Corner peeling almost always traces back to one of three causes: the garment was not pre-pressed and still held moisture, the corners sat outside the heated area of the platen, or the peel happened before the film cooled enough. Check all three before blaming the supplier.