
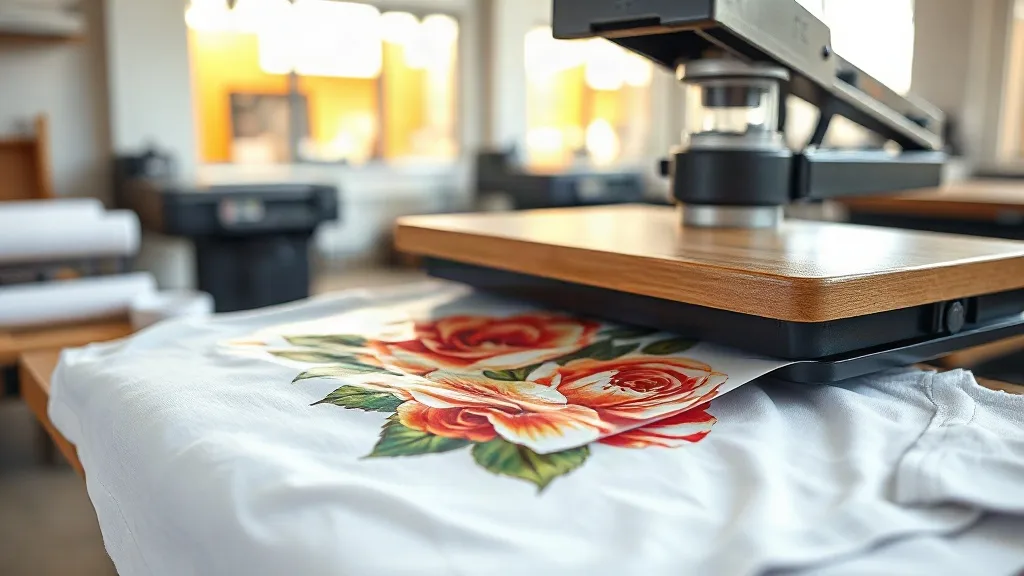
Imagine pressing a button and watching a full-color design come to life on a t-shirt in minutes, no messy screens or toxic chemicals required. That's the magic of DTF transfers, a technology that's quickly become the go-to for small businesses, crafters, and anyone who wants to create custom apparel without a steep learning curve. Whether you're launching a clothing brand or just making matching shirts for a family reunion, understanding DTF can save you time, money, and frustration.
What Exactly Is DTF?
DTF stands for Direct to Film. It's a printing method where your design is printed onto a special film, dusted with a thermoplastic powder, and then heat-pressed onto fabric. Unlike DTG (Direct to Garment) which prints directly onto the shirt, DTF uses a transfer step that gives it incredible versatility across different materials. I remember the first time I tried DTF: I was skeptical about the feel, but after one wash, I was hooked. The colors popped, and the design didn't crack or fade.
The process is surprisingly simple. You start with a digital file, print it onto a PET film using specialized inks, apply a powder adhesive while the ink is still wet, and cure it. Then you can store the transfers for later or press them immediately. This flexibility means you can print on demand without investing in expensive equipment like screen printers or DTG machines.
Why DTF Transfers Are Gaining Popularity
There are several reasons why dtf transfers have become a hot topic in the printing community. First, they work on almost any fabric: cotton, polyester, blends, even leather and denim. Second, the color vibrancy is unmatched because you can print white ink as a base, making designs pop on dark garments. Third, the durability is impressive; properly applied DTF prints can outlast the garment itself.
Another big advantage is cost. For short runs, DTF is far cheaper than screen printing, which requires separate screens for each color. And unlike vinyl, you can print complex gradients and photographs without weeding tiny details. I've seen small shops triple their output after switching to DTF, simply because they could take on orders they previously had to turn down.
How to Apply DTF Transfers: A Step-by-Step Guide
Applying DTF transfers is straightforward, but the details matter. Here's how to get professional results every time.
1. Prepare Your Heat Press
Set your heat press to 325°F (160°C) and preheat the garment for 5-10 seconds to remove moisture and wrinkles. Moisture is the enemy of adhesion, so don't skip this step.
2. Position the Transfer
Place the DTF transfer on the garment with the printed side facing up. If you're using a film with a matte side, make sure the matte side is against the fabric. Use heat tape if needed to keep it in place.
3. Press and Peel
Apply medium pressure for 15-20 seconds. Then, while the transfer is still hot, peel the film off in a smooth, steady motion. Some films are cold-peel, so check your supplier's instructions. I learned this the hard way: peeling too early can cause the design to lift.
4. Post-Press for Durability
For extra durability, cover the design with a Teflon sheet or parchment paper and press again for 5-10 seconds. This step ensures the adhesive fully bonds with the fabric, making it wash-resistant.
Common Mistakes and How to Avoid Them
Even with a simple process, things can go wrong. Here are the most common pitfalls and their fixes:
- Insufficient pressure: If the transfer doesn't stick, increase pressure. You want the press to feel firm, not just a gentle touch.
- Wrong temperature: Too hot and the film may melt or the ink may scorch; too cold and the adhesive won't activate. Invest in an infrared thermometer to verify your press's actual temperature.
- Peeling too fast: Slow and steady wins the race. Ripping the film off can stretch the design or leave residue.
- Not pre-pressing: Skipping pre-press leads to moisture trapped under the transfer, causing bubbling or poor adhesion.
By avoiding these mistakes, you'll get consistent, professional results that keep customers coming back.
DTF vs. Other Printing Methods
How does DTF stack up against DTG, screen printing, and vinyl? Let's break it down.
DTF vs. DTG
DTG is great for 100% cotton and offers a soft feel, but it requires pre-treatment and can be finicky on dark shirts. DTF, on the other hand, works on any fabric and doesn't need pre-treatment. The trade-off is that DTF prints have a slightly thicker feel, but many find it acceptable given the durability and color vibrancy.
DTF vs. Screen Printing
Screen printing is cost-effective for large orders of simple designs, but it's labor-intensive for multi-color jobs. DTF shines for small to medium runs with complex artwork because there's no setup cost per color. If you're printing 500 shirts with one color, screen printing wins. For 50 shirts with a photo-realistic design, DTF is the clear choice.
DTF vs. Vinyl
Vinyl is cheap and easy for simple text or single-color logos, but it can't handle gradients or fine details. DTF allows you to print full-color images without weeding, which saves hours of tedious work.
Choosing the Right DTF Supplies
Not all DTF films and powders are created equal. When starting out, look for films with a consistent coating and powders with a fine grain size (typically 80-200 microns). The ink you use should be specifically formulated for DTF; using regular inkjet ink will clog your printer and produce poor results.
For those who want to skip the printing process, many suppliers offer ready-to-press dtf transfers that you can order online. This is perfect for beginners or those who don't want to deal with printer maintenance. Just make sure the supplier uses quality materials and provides clear application instructions.
Expanding Your Business with DTF
Once you've mastered DTF, you can offer a wider range of products: personalized gifts, team uniforms, promotional items, and even small-batch fashion lines. The low startup cost means you can test designs without a huge investment. I've seen crafters turn a side hustle into a full-time business by leveraging DTF's flexibility.
Consider adding DTF to your existing services if you already do sublimation or embroidery. It fills the gap for full-color designs on cotton, which sublimation can't do, and it's faster than embroidery for large logos.
Frequently Asked Questions
How long do DTF transfers last?
With proper application and care, DTF prints can last 50+ washes without fading or cracking. Always wash inside out in cold water and avoid bleach.
Can I use DTF on 100% polyester?
Yes, DTF works great on polyester, but you may need to lower the press temperature slightly (around 300°F) to avoid scorching. Always test on a scrap piece first.
Do I need a special printer for DTF?
You can convert an Epson printer with DTF inks and a powder shaker, or buy a dedicated DTF printer. For beginners, ordering pre-made transfers is a cost-effective way to start.
What's the difference between DTF and DTG?
DTG prints directly onto the garment and requires pre-treatment, while DTF prints onto a film that is then transferred. DTF works on more fabrics and often produces more vibrant colors on dark shirts.
Can I stretch DTF prints?
DTF prints have some stretchability, but they aren't as elastic as the fabric itself. For highly stretchy garments like spandex, consider using a stretch additive or choose a different method.
DTF transfers have opened doors for countless creators, and with a little practice, you'll be producing pro-level apparel in no time. Remember, the key is to start with quality supplies, follow the process, and don't be afraid to experiment. Your next custom shirt could be your best one yet.