When you dive into apparel customization, the allure of high-quality DTF transfers is hard to resist, delivering vibrant color and durable adhesion that lasts wash after wash. Yet achieving those results hinges on more than owning a DTF printer; it starts with the DTF transfer process and the careful DTF printing steps that follow. From selecting the right fabrics to ensuring DTF film quality, every choice influences how well the design sticks and how soft the final feel remains. This guide walks you through a repeatable workflow for producing best-in-class results, with tips for robust color, underbase accuracy, and reliable adhesion for DTF transfers for apparel. Along the way, you’ll learn how the best DTF inks interact with the film and powder to support durable, vibrant designs across a range of fabrics.
Think of this approach as a film-based garment decoration technique that uses a color-rich print on PET film before transferring it to fabric. In LSI terms, you’re looking at a digital-to-film workflow, where image preparation, color management, and heat-pressing converge to yield durable, stretch-friendly results on apparel. Alternative phrasing such as ‘ink-on-film method’ or ‘surface-print transfer’ underscores the same concept, helping search engines connect related topics without relying on the exact acronym. Other closely related ideas include substrate compatibility, image density, and adhesive performance, all of which shape final appearance and wash durability. By presenting the topic with these connected terms, you align with reader intent and the broader DTF conversation while preserving clarity and SEO relevance.
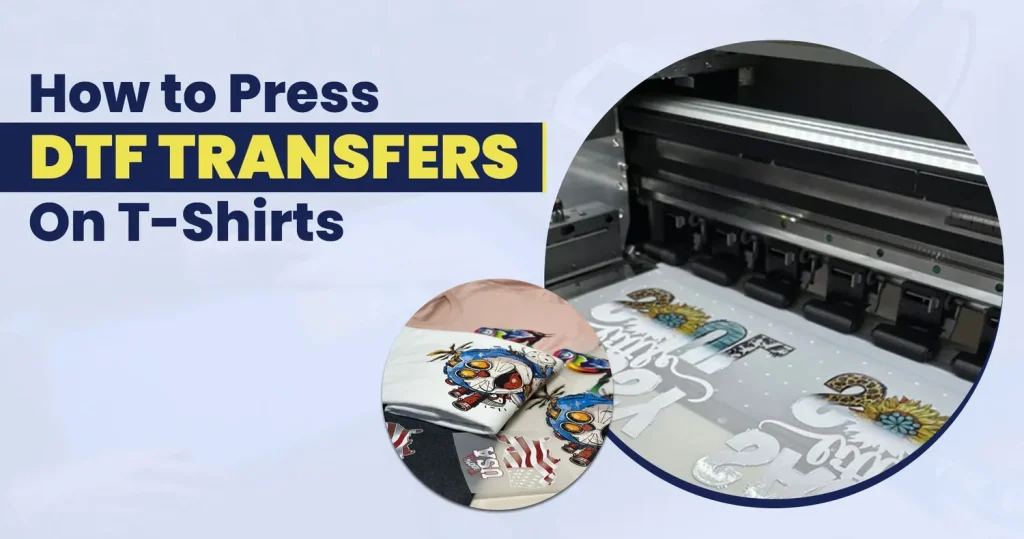
Achieving High-Quality DTF Transfers for Apparel: A Comprehensive Overview of the DTF Transfer Process
When aiming for high-quality DTF transfers, the journey starts with understanding the DTF transfer process from design to final press. This means careful workflow planning, accurate color management, a strong white underbase when needed, precise powder adhesion, and controlled heat and dwell times to ensure the print remains vibrant and durable.
A successful transfer hinges on cohesive steps across equipment and materials. Select the best DTF inks and verify film quality, maintain the printer, and calibrate the heat press. By aligning these elements with the DTF printing steps, you ensure color fidelity, sharp edges, and a finish that withstands washing.
DTF Printing Steps: From Artwork Preparation to a Color-Ready Film
Designing for DTF starts with high-resolution artwork and accurate color profiles. The DTF printing steps include converting colors to CMYK, preparing for a potential white underbase, and ensuring the design aligns with the intended garment color. A soft proof helps anticipate how the final print will look on fabric.
During printing, you load the film correctly and run nozzle checks, then print the white underbase first on dark fabrics, followed by the color layer. This sequence improves opacity and vibrancy, and it directly ties to the reliability of the DTF transfer process and the DTF printing steps you perform every run.
Maximizing DTF Film Quality: Materials, Curing, and Handling Best Practices
DTF film quality matters as much as ink and design. Choose films with consistent coating, proper tackiness, and good adhesion to powder. After printing, proper curing of the powder is essential to fuse the adhesive, prevent smearing, and ensure the film can be transferred cleanly.
Store and handle film in lint-free, dry conditions to maintain film quality across batches. Minimize dust during printing and assembly, and clean the film path regularly. A focus on DTF film quality helps reduce texture issues, mis-registration, and color shifts in final apparel prints.
DTF Transfers for Apparel: Best Practices Across Fabrics and Garments
DTF transfers for apparel perform best when fabrics are prepped and tested. Cotton, blends, and some synthetics respond differently to heat and pressure, so pre-wash fabrics and tailor the heat and dwell times. Use a vibrant but balanced color strategy to maintain brightness on dark and light garments.
Create a practical testing plan with small swatches for each fabric family and use the best DTF inks under varying conditions. Consistent post-press care and appropriate washing guidelines help maintain the integrity of DTF transfers for apparel over time.
Selecting the Best DTF Inks for Colorful, Durable Prints
Inks drive color vibrancy, depth, and wash durability. When choosing, look for inks that pair well with your DTF film and printer, offering good opacity for white underbases and strong adhesion after curing. The right choice of inks will contribute to consistent results across batches and substrates.
Regular maintenance—nozzle checks, color calibration, and print head alignment—complements the ink selection. Discuss the tradeoffs between different ink chemistries and the ability to produce bold greens and blues with stable drying times. The goal is reliable color, minimal bleeding, and long-lasting DTF transfers for apparel.
Frequently Asked Questions
What defines high-quality DTF transfers and how can I ensure great DTF film quality?
High-quality DTF transfers feature accurate color, sharp detail, opaque white underbase on dark fabrics when needed, clean release from the film, and durability through washes. To achieve this, start with high-quality DTF film, ensure even adhesive powder adhesion, proper curing, and precise heat and dwell times as part of the DTF transfer process.
What are the essential DTF printing steps for achieving high-quality DTF transfers?
Key DTF printing steps include artwork preparation with color management, printing in the correct order (usually white underbase first, then color), applying adhesive powder and curing, and pressing with accurate temperature, time, and pressure. Consistent film quality and using reliable inks in the DTF printing steps further ensure vibrant, durable results.
How do best DTF inks impact DTF transfers for apparel?
The best DTF inks deliver vibrant color, smooth gradients, and good adhesion when paired with quality film and powder. They influence color fidelity, wash durability, and overall print softness, so choose inks compatible with your DTF film quality and curing process to maximize results for apparel.
What troubleshooting tips help maintain high-quality DTF transfers?
If colors fade or cracking occurs, re-check printer calibration, white underbase density, and powder curing. Inspect DTF film quality for consistency, ensure the workflow follows the DTF transfer process, and verify heat press settings (temperature, time, pressure) for each fabric type.
How do pre-press and post-press care influence the quality of DTF transfers for apparel?
Pre-press removes moisture and wrinkles to create a flat transfer surface, while post-press curing and proper wash care extend durability. Following the DTF printing steps and overall DTF transfer process helps ensure garments maintain vibrant color and strong adhesion through repeated wear and washing.
| Aspect | Key Points |
|---|---|
| Introduction to DTF |
|
| What Makes a Transfer High-Quality? |
|
| Materials, Tools, and Setup |
|
| Design, Color Management, and Pre-Press Preparation |
|
| Step-by-Step: Printing and Transferring |
|
| Quality Control, Troubleshooting, and Best Practices |
|
| DTF Transfers for Apparel: Practical Tips |
|
| Maintenance and Longevity |
|
Summary
High-quality DTF transfers (high-quality DTF transfers) require a disciplined, end-to-end workflow that emphasizes design readiness, accurate color management, film quality, and precise heat and dwell times to produce durable, vibrant results.
From selecting materials to refining your pressing technique, this guide emphasizes repeatable steps, proper post-press care, and ongoing maintenance to maintain color fidelity and adhesion.
As you gain experience, document settings for different fabrics and colors to reproduce consistent results and expand substrate options.
By prioritizing quality control and a well-maintained system, you can deliver professional-grade DTF transfers for apparel that pop with color and endure repeated washing.